
Scheduler allows us to integrate through Airbnb.com Extranet without having to import emails to our CRM. To do so, the hotelier has to login in his account.Steps to be followed:
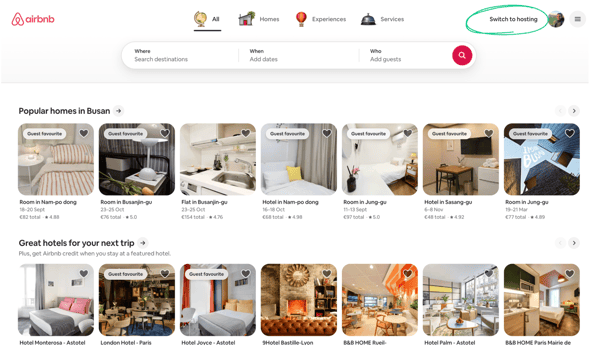
- Open Airbnb and click on Switch to hosting (in case the partner is on Traveling mode)
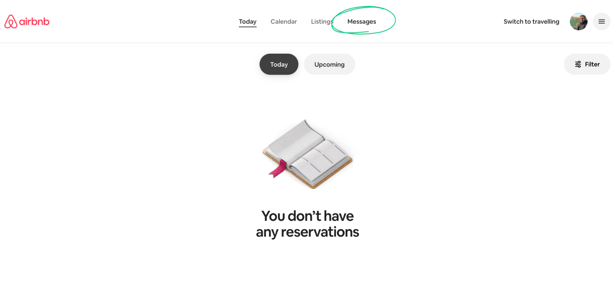
- Then, open Messages
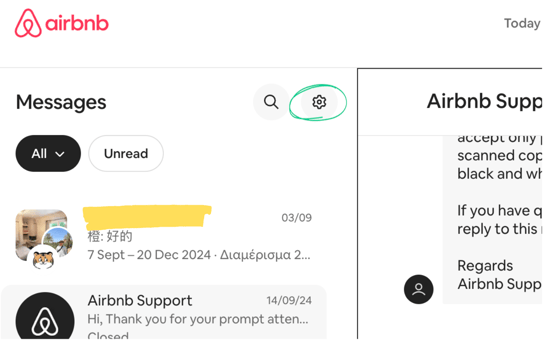
- Click on Setting Icon, on the top right of the Messages section
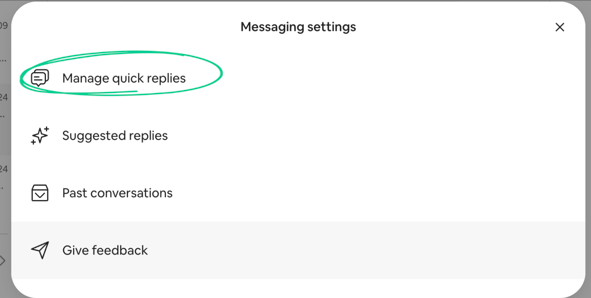
- On the pop-up message click on Manage quick replies
- Click on Create in order to create a new Scheduled message from scratch
-
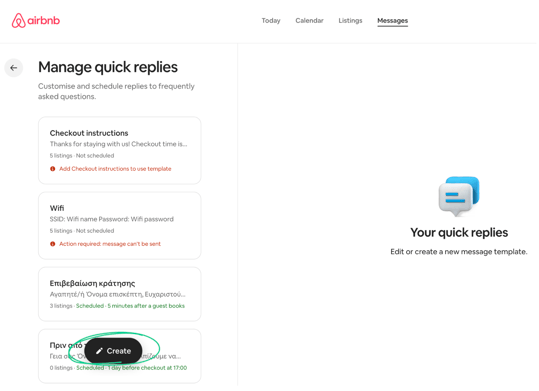
- Then, copy past the following templates for each message.
|
Instant |
Reminder |
Pre-Checkout |
|---|---|---|
|
Dear [Guest First Name], Thank you for choosing the [Listing name]! We would like you to have the best time possible in [City], and since we know how important the first few hours in a new place can be, let us offer you to book a transfer with our transportation partner – Welcome Pickups, if you simply click the link below: [Landing Page Link] We are looking forward to welcoming you! Best regards, |
Dear [Guest First Name], We are looking forward to welcoming you the next days at the [Listing name]! A while back we sent you an email to help you get the best possible welcome in [City]!
[Landing Page Link] Always at your disposal. Best regards, |
Hi [Guest First Name],
We hope you’re enjoying your stay at [Listing name]!
We would like to assist you with your drop-off transfer to the Airport or Port, if you simply follow the link below!
[Landing Page Link]
You can book your transfer in just 60 seconds and our driver will be waiting right outside our Hotel’s entrance and will ensure that you reach your next destination stress-free.
We hope to welcome you again at [Listing name] soon!
All the Best, [Primary host first name] |
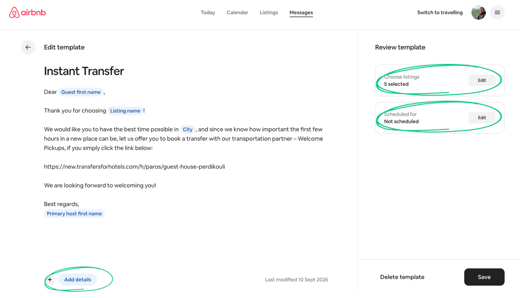
In order to add the variable [Guest first name], [Listing name], [City], [Primary host name], you just need to click on the Add details button.
5. You then need to select for which listing this message will be applied by clicking on Choose listings.
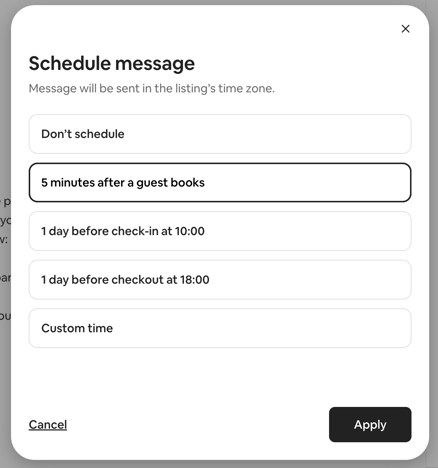
- Once you have write the message, you have to set-up the scheduled. To do so, choose:
- For the Instant:
- For the Reminder, select Custom time> Event: Check-in > When to send: 7 days before > Time: 12:00
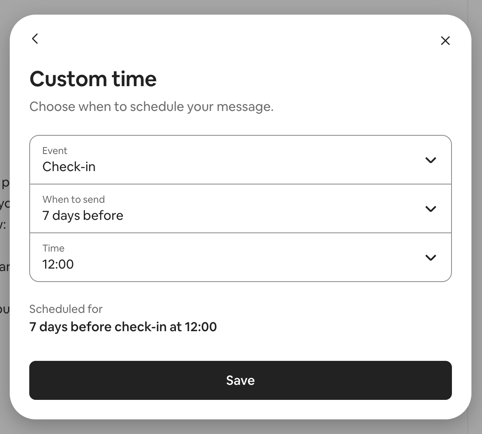
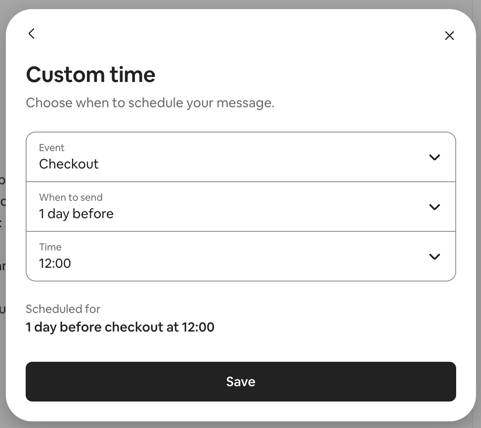
- For the Check-out, select Custom time> Event: Check-out > When to send: 1 days before > Time: 12:00
6. Save the scheduled message by clicking on Save